

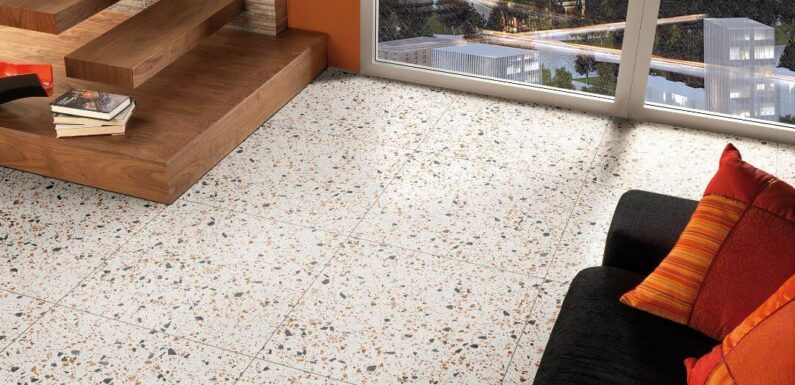
Terrazzo tiles have gained immense popularity in modern interior design due to their unique aesthetics, durability, and versatility. These tiles, composed of marble, granite, quartz, or glass chips embedded in a cement or epoxy matrix, can transform any space into a stunning work of art. However, to ensure a successful installation, it is crucial to understand the techniques involved. In this article, we will explore the step-by-step process of installing terrazzo tiles, covering everything from surface preparation to grouting and polishing.
Surface Preparation: Before installing terrazzo tiles, it is essential to prepare the surface properly to ensure a stable and long-lasting installation. The surface must be clean, dry, and free from any debris, oil, or grease. Depending on the substrate, it may require leveling, patching, or applying a primer to enhance adhesion.
Mixing and Pouring the Terrazzo Mix: Terrazzo tiles are typically made on-site using a mix of aggregates and binders. The aggregates can vary in size, color, and material, allowing for endless design possibilities. The binder can be cement or epoxy, each offering different characteristics. Once the mix is prepared, it is poured onto the prepared surface in a thickness of around 3/8 to 1/2 inch.
Seeding the Aggregates: Immediately after pouring the terrazzo mix, the aggregates are sprinkled onto the surface. These aggregates can be a combination of various materials, such as marble chips, glass pieces, or even recycled materials. They should be evenly distributed and pressed down into the wet mixture using a roller or trowel.
Grinding and Polishing: After the terrazzo mix has cured for a sufficient period, usually around 24 to 48 hours, the grinding and polishing process begins. Initially, rough grinding is done using coarse diamond pads to level the surface and expose the aggregates. Subsequent finer grinding with progressively finer grits produces a smooth and shiny finish. Finally, a polishing compound is applied to enhance the sheen and bring out the full beauty of the terrazzo.
Cutting into Tiles: Once the terrazzo slab has been polished to the desired finish, it can be cut into tiles of the desired dimensions. Specialized equipment such as wet saws or diamond blade cutters are used for precise cutting. Care must be taken to ensure clean edges and accurate dimensions.
Tile Installation: The installation of terrazzo tiles follows similar principles to other tile installations. A high-quality tile adhesive or thin-set mortar is applied to the substrate using a notched trowel. The tiles are then carefully placed onto the adhesive, ensuring proper alignment and spacing. It is essential to work in small sections to prevent the adhesive from drying out.
Grouting: Once the tiles are firmly in place, the grouting process begins. Epoxy-based grout is commonly used for terrazzo tiles due to its durability and stain resistance. The grout is applied to the joints using a rubber float, ensuring that all gaps are adequately filled. Excess grout is then wiped off the surface, and a grout sealer may be applied to enhance stain resistance and ease of maintenance.
Final Cleaning and Sealing: After the grout has dried, a final cleaning is performed to remove any residue or haze. The tiles are thoroughly washed with a neutral pH cleaner, followed by rinsing and drying. Depending on the type of terrazzo and desired level of protection, a sealer may be applied to enhance stain resistance and protect the surface from daily wear and tear.